1. Installation Prep
For this lesson, we will be installing COmanage from a Docker image onto a virtual machine that we have set up for this training. What you set up here will be available to you for 2 weeks after the workshop.
VM & user assignments

Your Resources
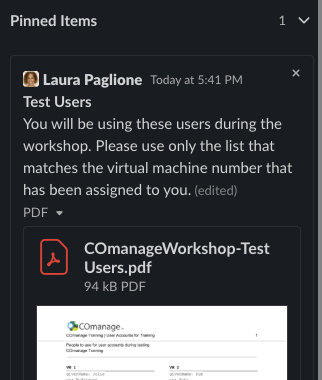
Each person registered for the class has been provided A) a virtual machine number, B) a list of 10 test users that you will be using for your exercises, and C) a pre-set password that we will be using during the workshop. Look at the 'Pinned Items' in the class slack channel to find these items.
A. Virtual Machine
This section allows you to record the number of the virtual machine that you have been assigned. (See “Your Resources” below.)
- On line 2. Your VM, record this number in the blank line. For example, if your number is ‘1’, your VM will be
registry1-private. - On line 3. Your COmanage site, also record the number on the blank line. For example, if your number is 1, your COmanage site (when up and running) will be found at
https://registry1.comanage.incommontraining.training
B. Your Persona
During this training you will be working with three different ‘persona’: a CMP (platform) Administrator, a CO Administrator, and a Regular User. Don’t worry at the moment what these terms mean. Pinned to the Workshop Slack Channel is a file that lists many users that will be available for signing into COmanage. (See “Your Resources” below.)
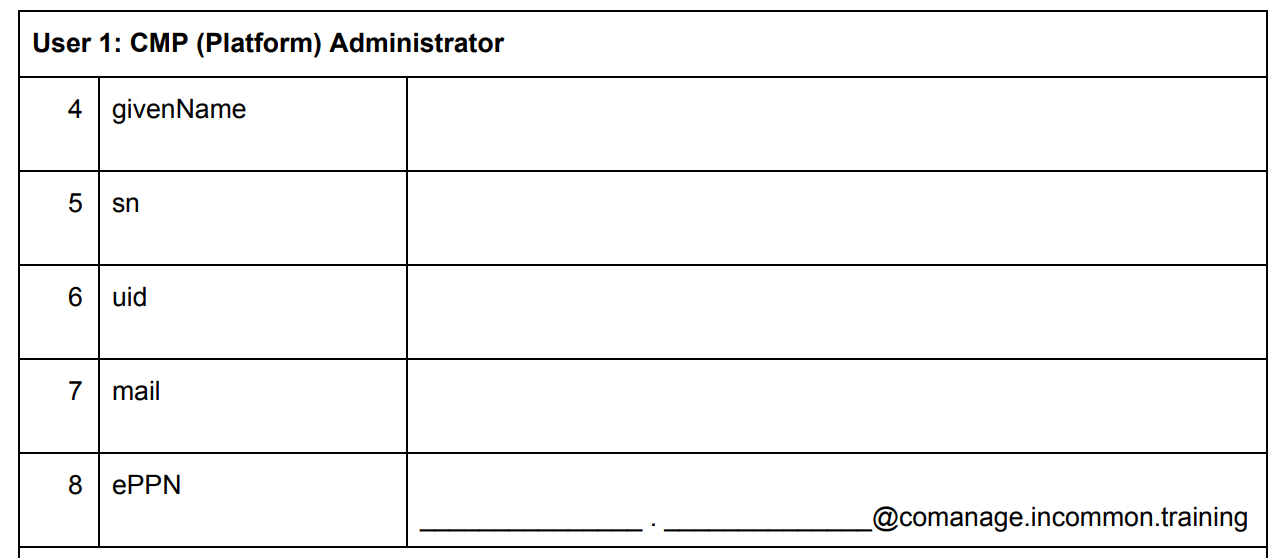
Record three users on the worksheet from the list that correspond to your VM number, including their givenName, sn (surname), uid (unique identifier), and mail (email address).
You will also derive the ePPN for each user (uid@comanage.incommon.training), which will be givenName.sn. (See the worksheet for details.)
C. Passwords!
Also on this Document is the password that we will be using for the workshop. This password will be used for every instance where a password is needed.
Getting to the pinned items in slack
1. Click on the pinned item link at the top of the channel panel

2. Review the pinned items
Sign into your virtual machine
You will be using SSH to sign into your virtual machine.
Need help?
If you run into challenges during this process, please put a note into the Slack channel so that we can see that you need help.
1. SSH to the AWS bastion host
Type the following command:
ssh training@ssh.comanage.incommon.training
[training@ssh ~]$
You will use the training session password when requested. As a reminder, you can find the password on the Workshop Reference Document.
2. SSH into your virtual machine
Once on the bastion host, SSH into the virtual machine that you will be using for the workshop. Refer to the Workshop Reference Document to see the name of your virtual host.
You will replace the letter ‘N’ in the command below, with the number for your virtual machine.
ssh registryN-private
[training@registryN-private ~]$
Take a look at Docker
3. Explore Docker with some commands
The docker files are already available to you, so you can run a few docker commands to check them.
First we’ll see what docker nodes are available:
docker node ls
ID                            HOSTNAME                                       STATUS              AVAILABILITY        MANAGER STATUS      ENGINE VERSION
8tuwrbfdci97tfn9nqoinic0o *   registry1-private.comanage.incommon.training   Ready               Active              Leader              19.03.4
You can also see the list of containers that are available by running the docker ps command. (NOTE, there shouldn’t be any Docker containers because we haven’t set them up yet. This command will confirm that this is true.)
docker ps
CONTAINER ID IMAGE COMMAND CREATED STATUS PORTS NAMES
NOTE: You can also use sudo without a password, but you probably will not need it in this session. For example,
sudo /usr/bin/whoami
root